This week saw a lot of progress, it was very exciting to see our board really start to come together. The end cap was a fun distraction, but we need a playing surface by Adepticon so I focused on that for the most part.
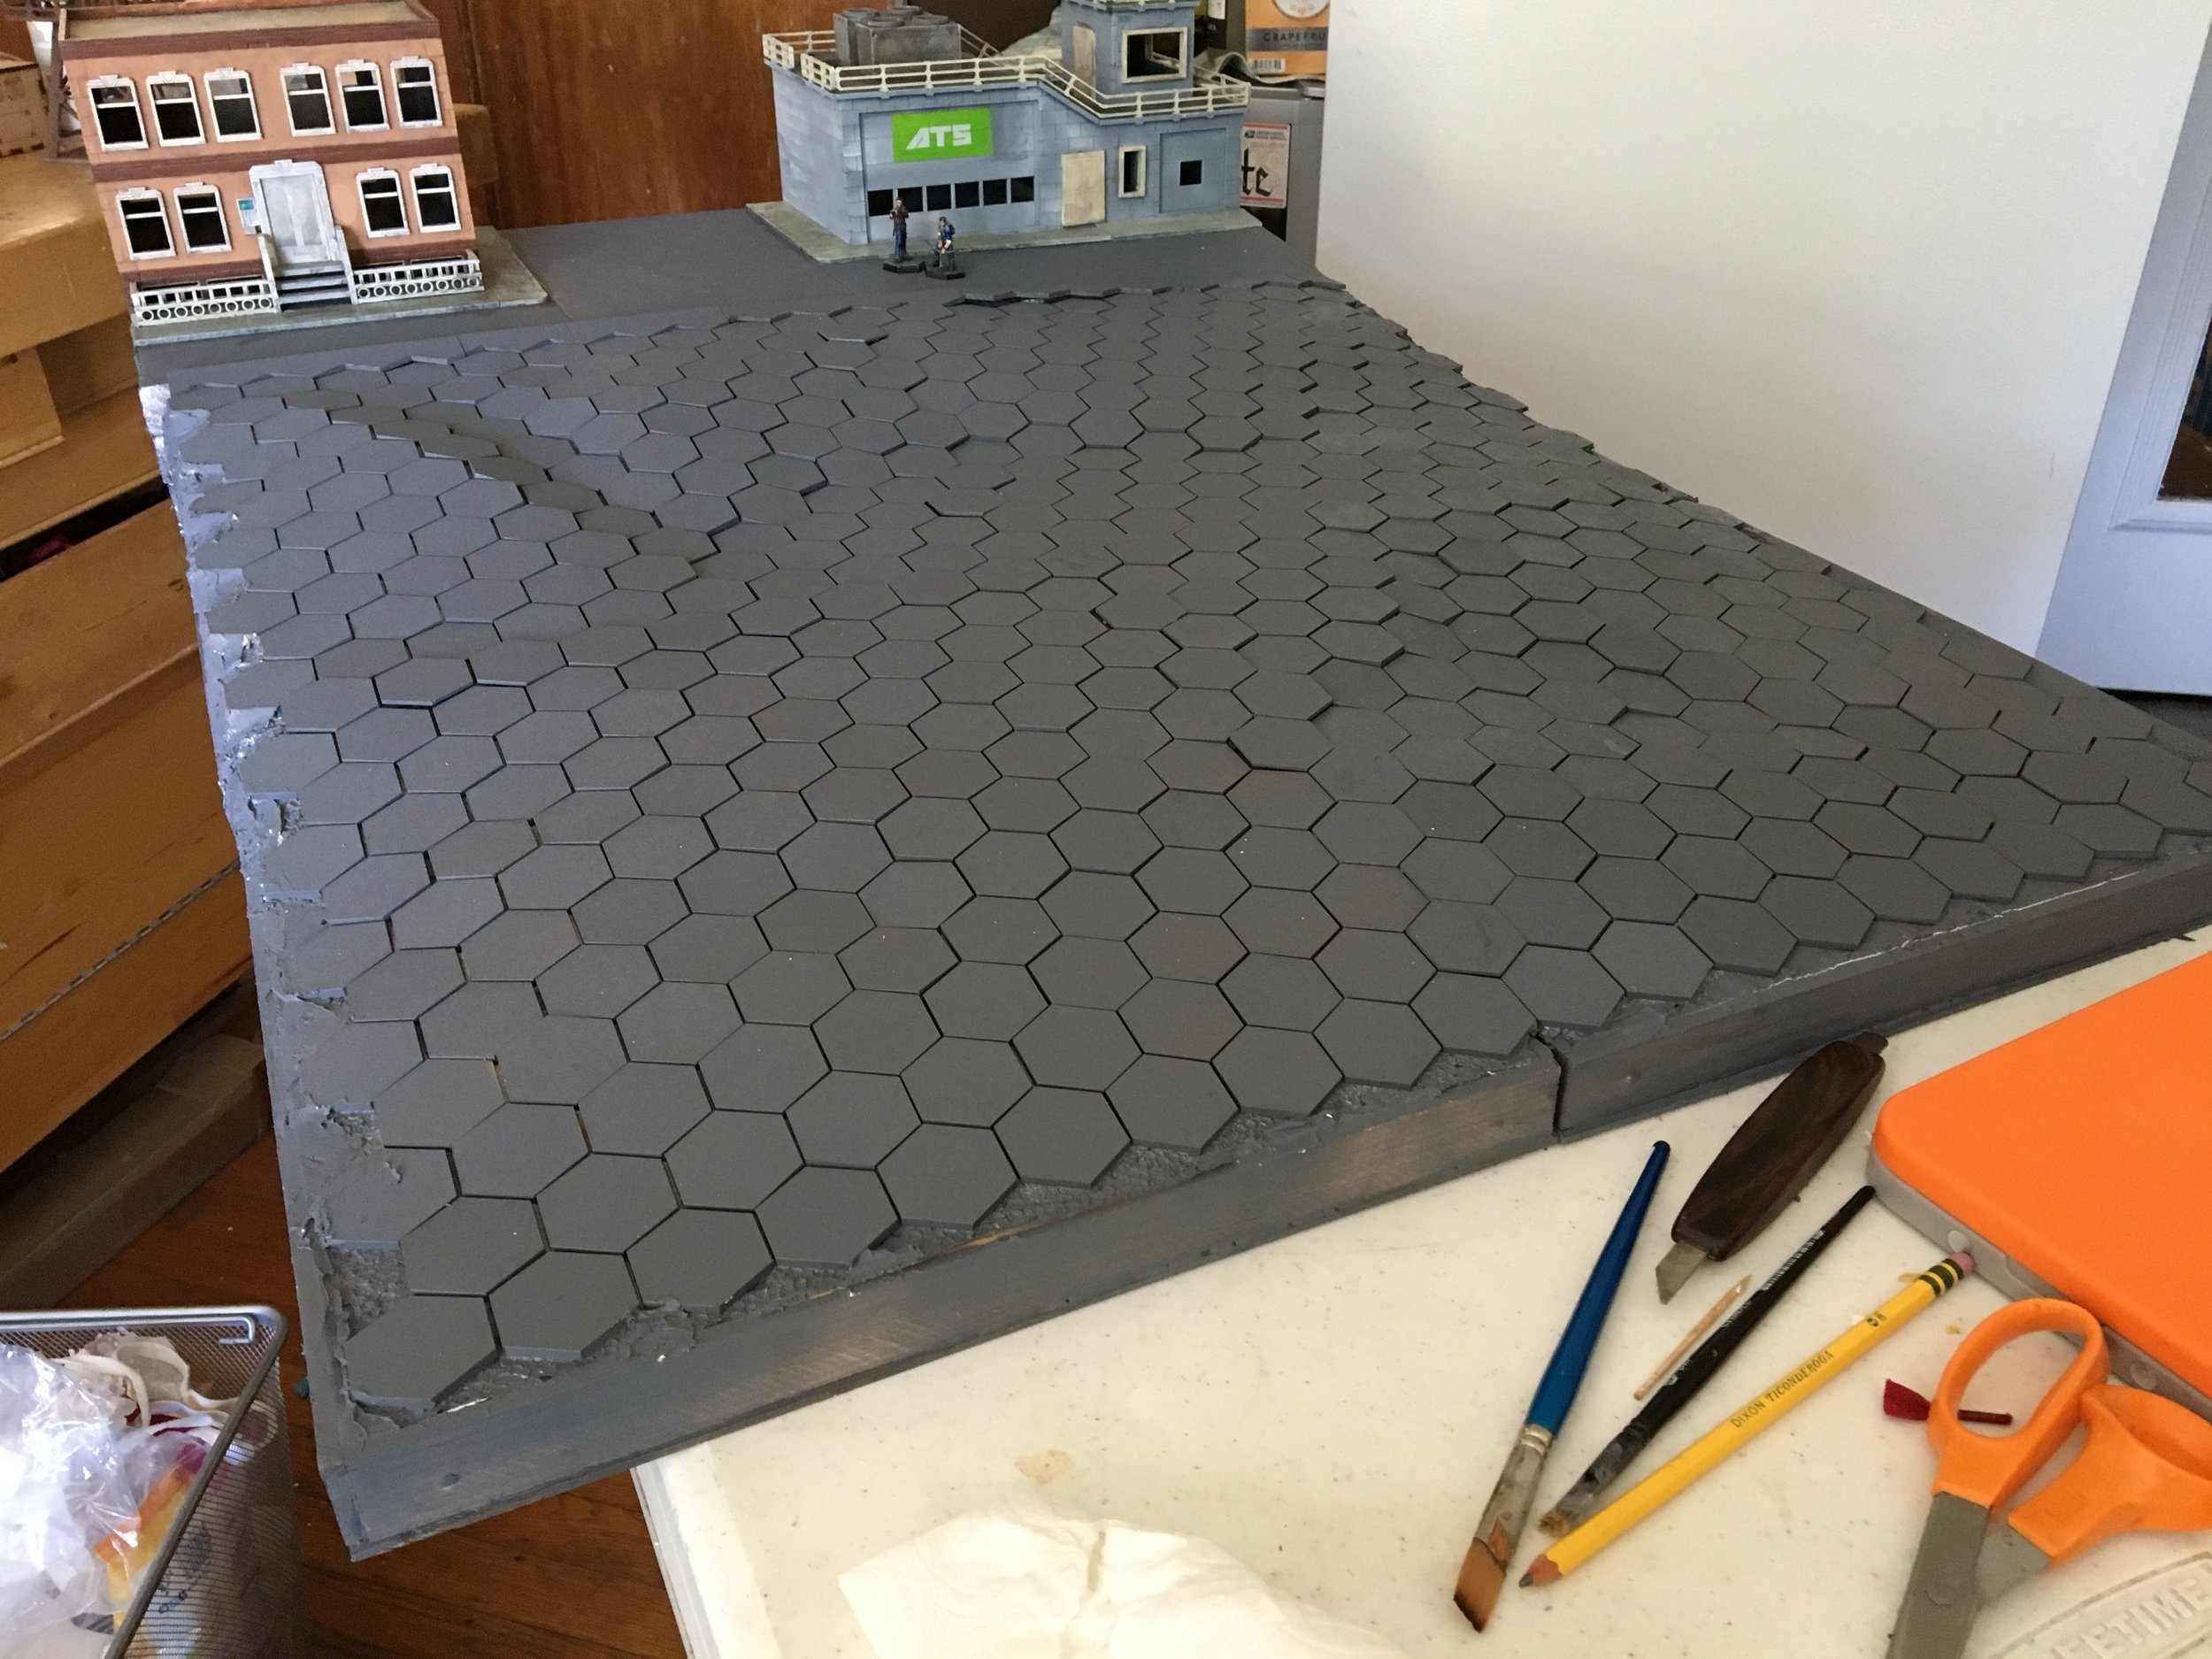
I started by getting everything primed. I decided on gray primer because wanted a shortcut on the asphalt. I also came up with a scheme for covering the seams between the quadrants.
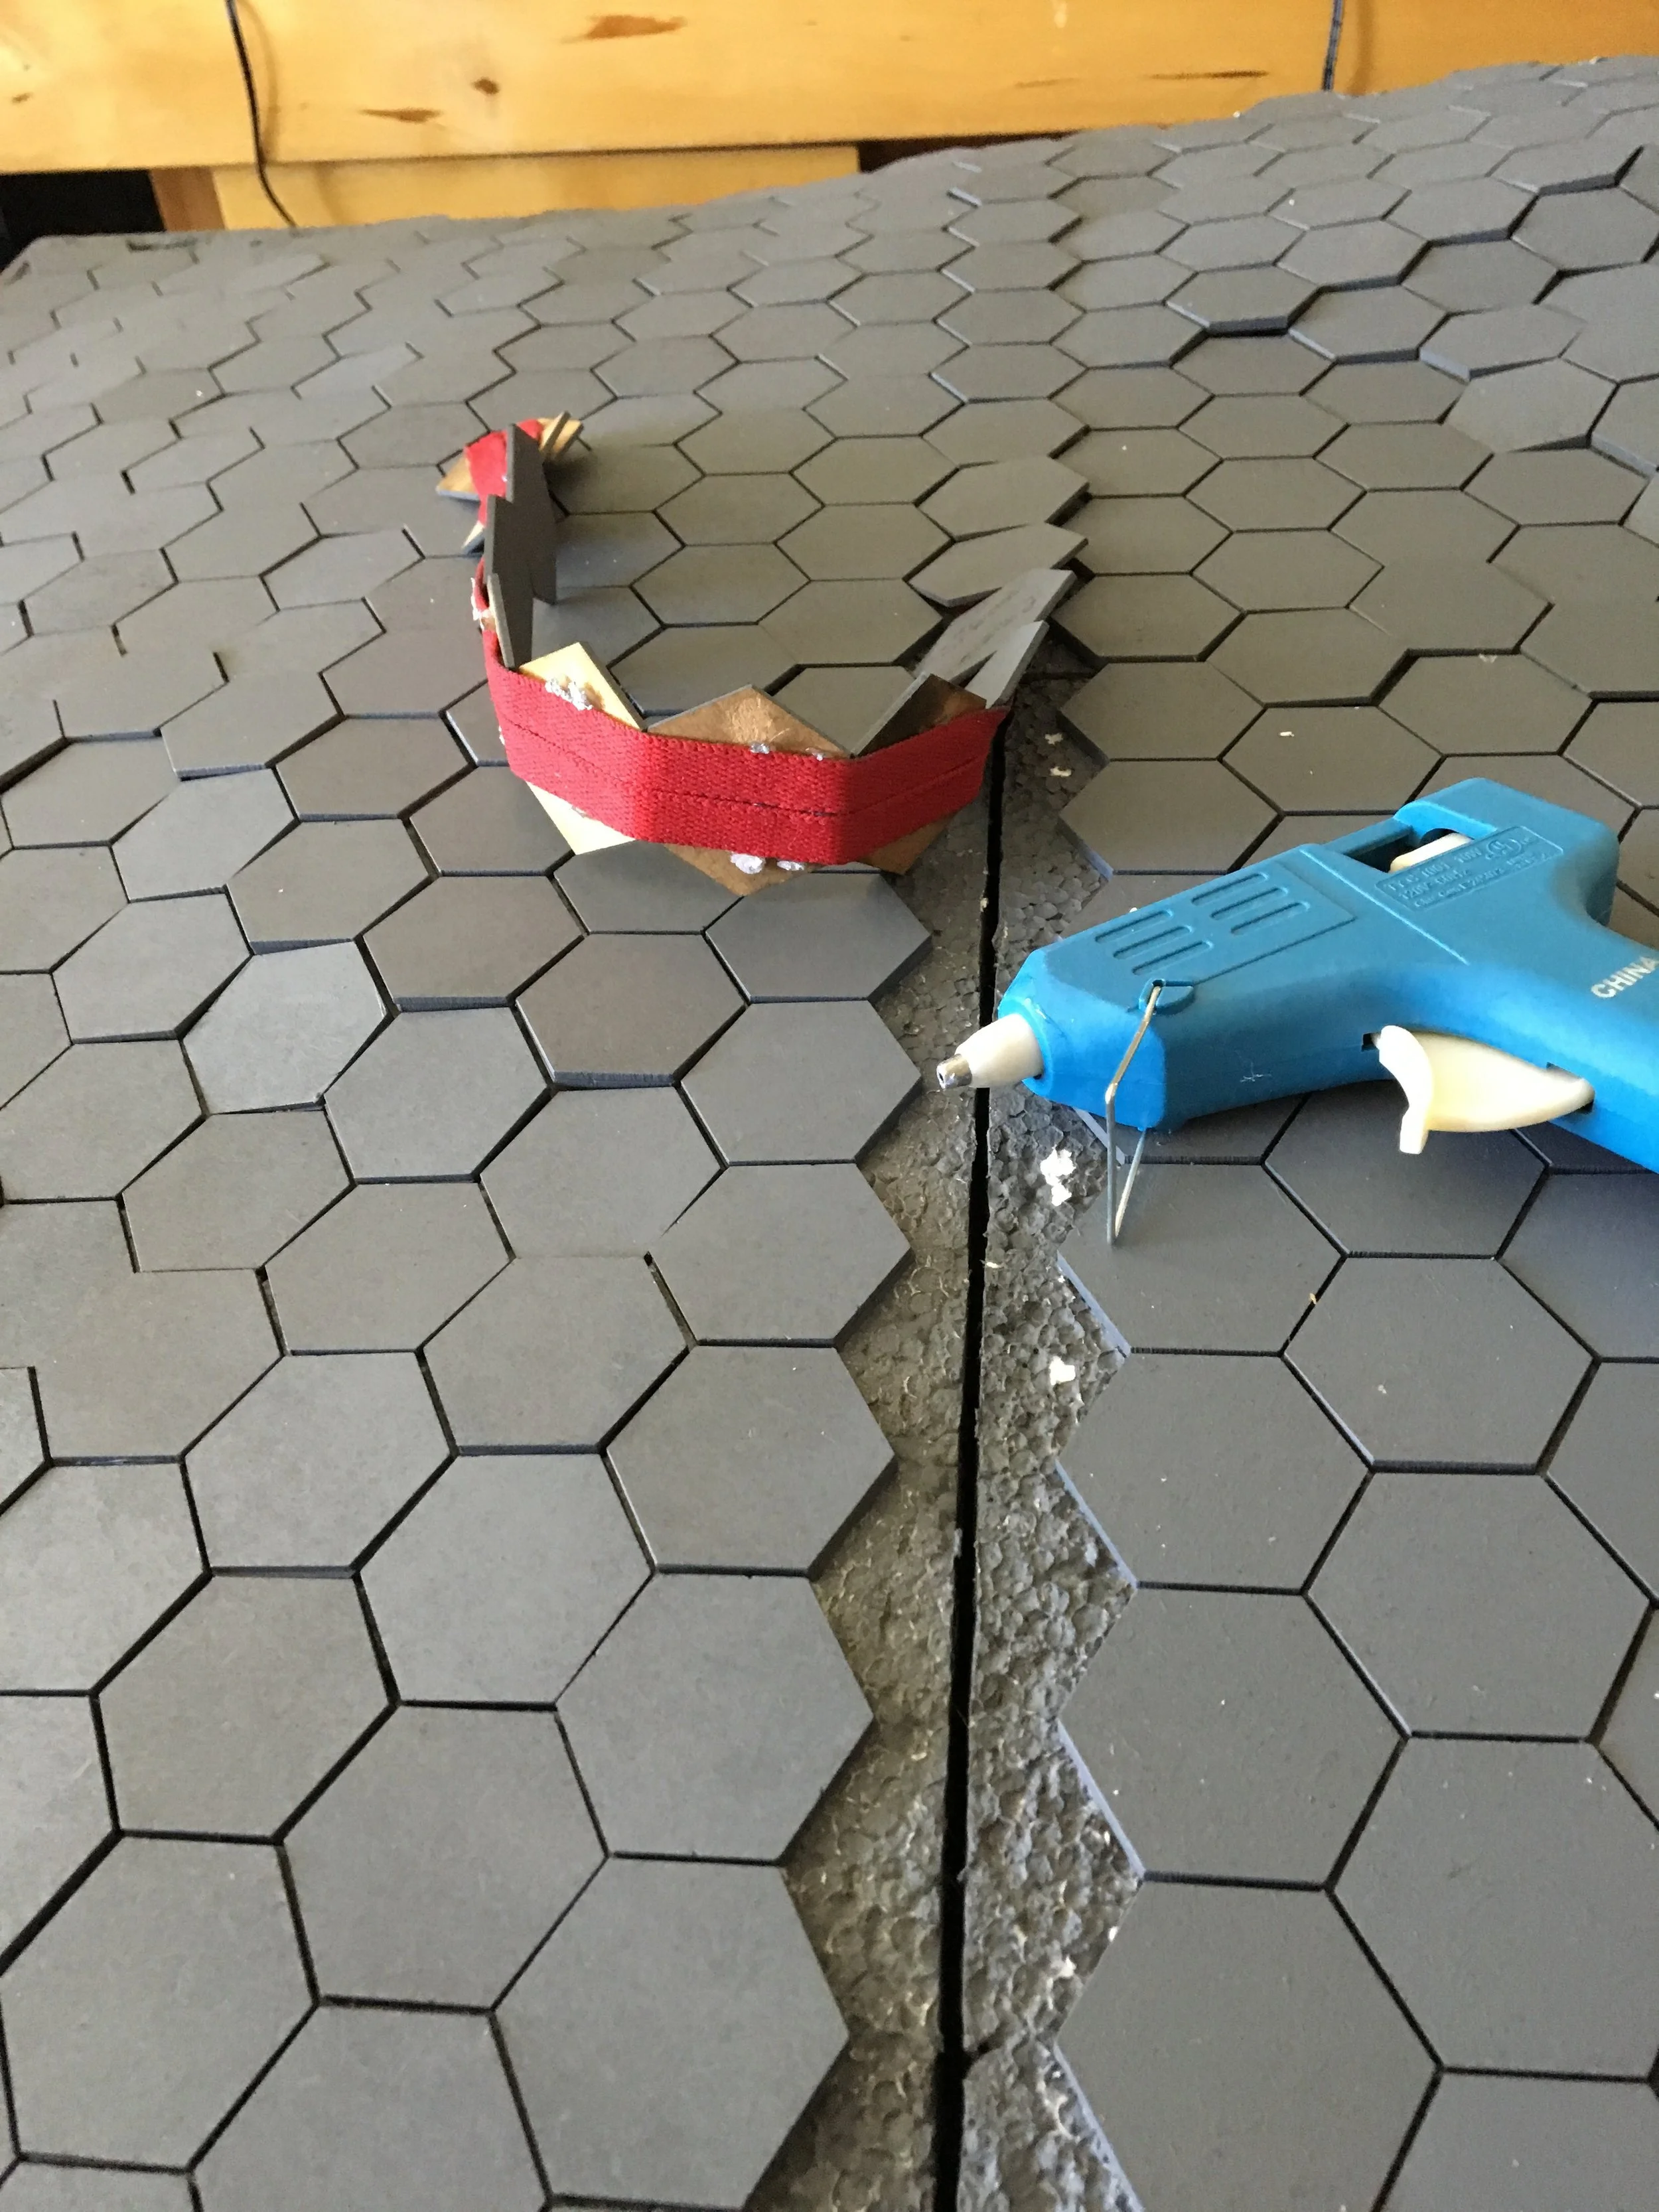
Finally used those old shoelaces!
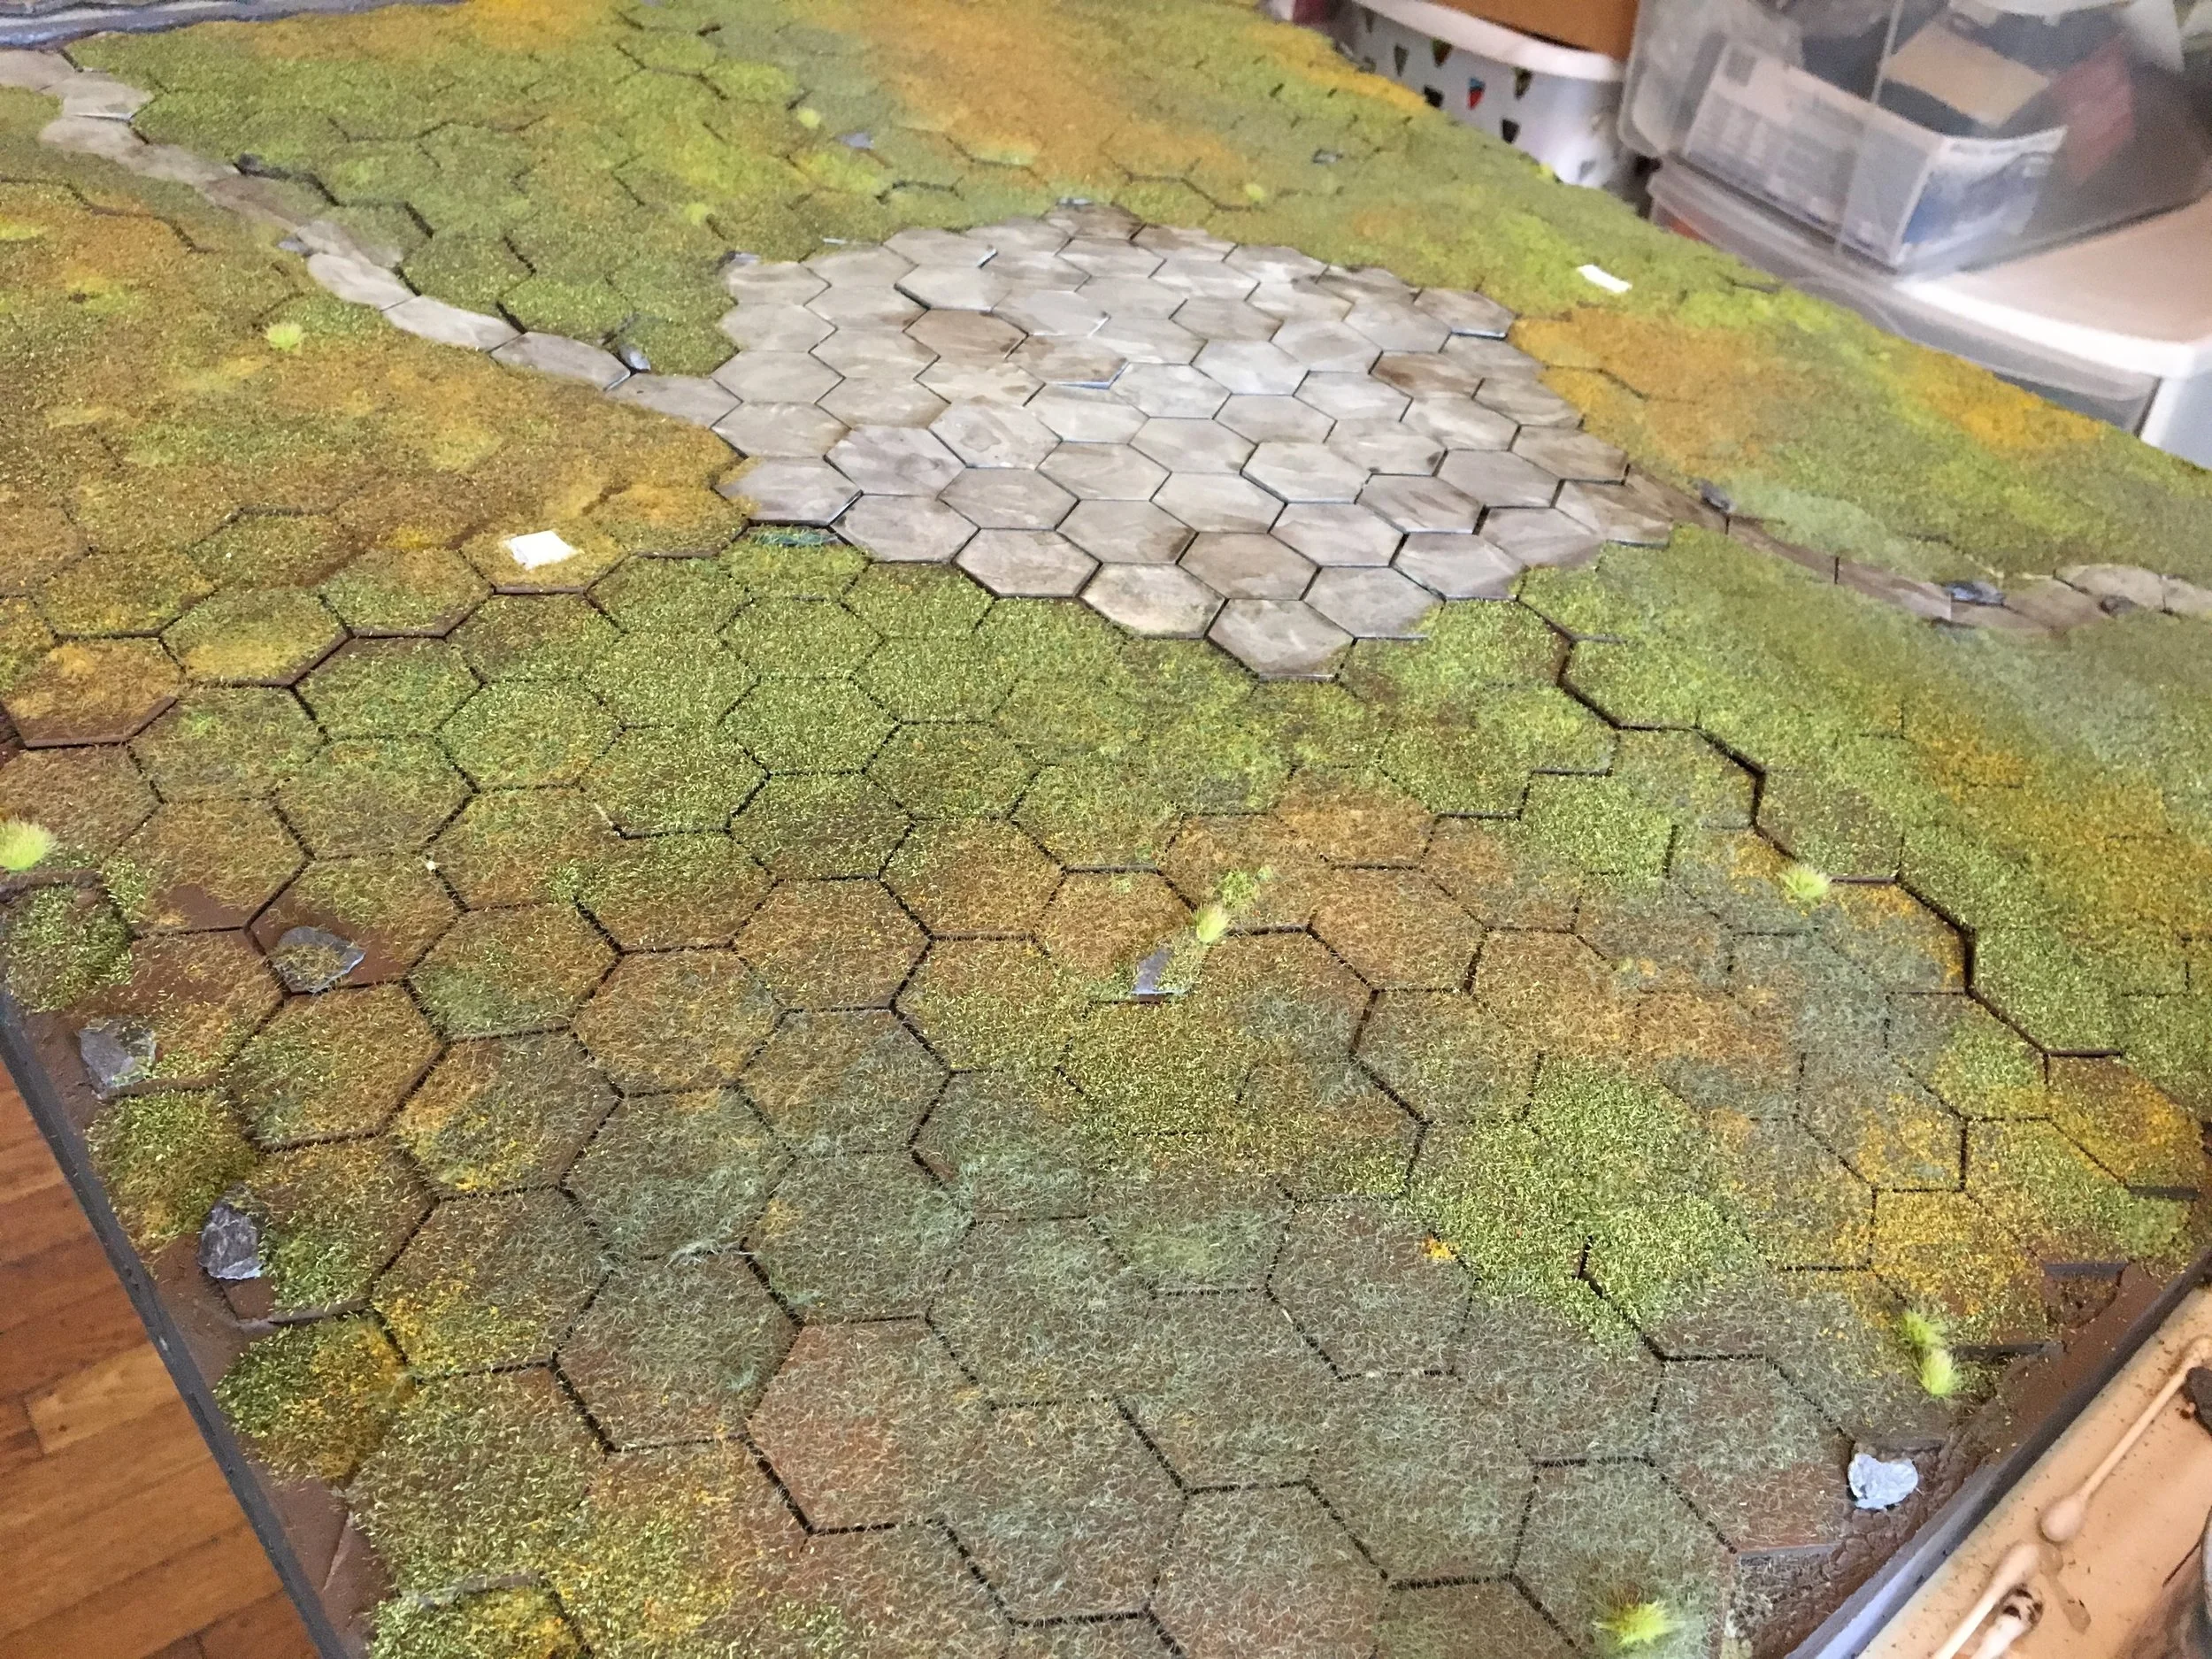
Then I busted out my airbrush and painted the base coat. The board is meant to be a public park with a paved square in the middle. I made the square a 9x9 hex in the middle so that it marks the boundaries of our “Airdrop” scenario, painting that in a green-grey, and the rest of the board in brown for under the grass. Our friend Zack came by with a bunch of flock and some cool slate rocks to glue down. Once the rocks were in place we started laying on the PVA glue and grass. With Zack’s flock added to mine we had 5 varieties of grass colors which really makes the board look natural and lends it a feeling of being untended for several weeks, fitting the theme really well.


We were both so stoked to see the grass glued down. It was just such a thrill. We also decided to do something a little special with each of the usual CyMS spawn points on the board. Of course, this is all for nothing if we don’t have some terrain to put down. Zack put in a lot of work on that and it’s looking really good.

Meanwhile, I got to work on painting some of our spawn markers.

The good news is we have a playable surface! We need to get cracking on the terrain, and once that’s done we can take this thing around and attract people to our table! There are a ton of additions I’d like to do over time, like add another end-cap to the lower area of the board. There are still a lot of little details to paint and clean up as well.
What do you think of the board so far? What features would you like to see?